A Hyperbolic Parabaloid shape in Revit is based off creating a square form and lifting 2 of the offset corner points. Below is the outline for creating a square and circular hyperbolic parabaloid shape.

To create a Square Hyperbolic Parabaloid.
(The Square Hyperbolic Parabaloid could quite easily be
created just as a face, instead of creating an extrusion form just create a
face. I am using an extrusion as it flows better into a Circular Hyperbolic
Parabaloid example).
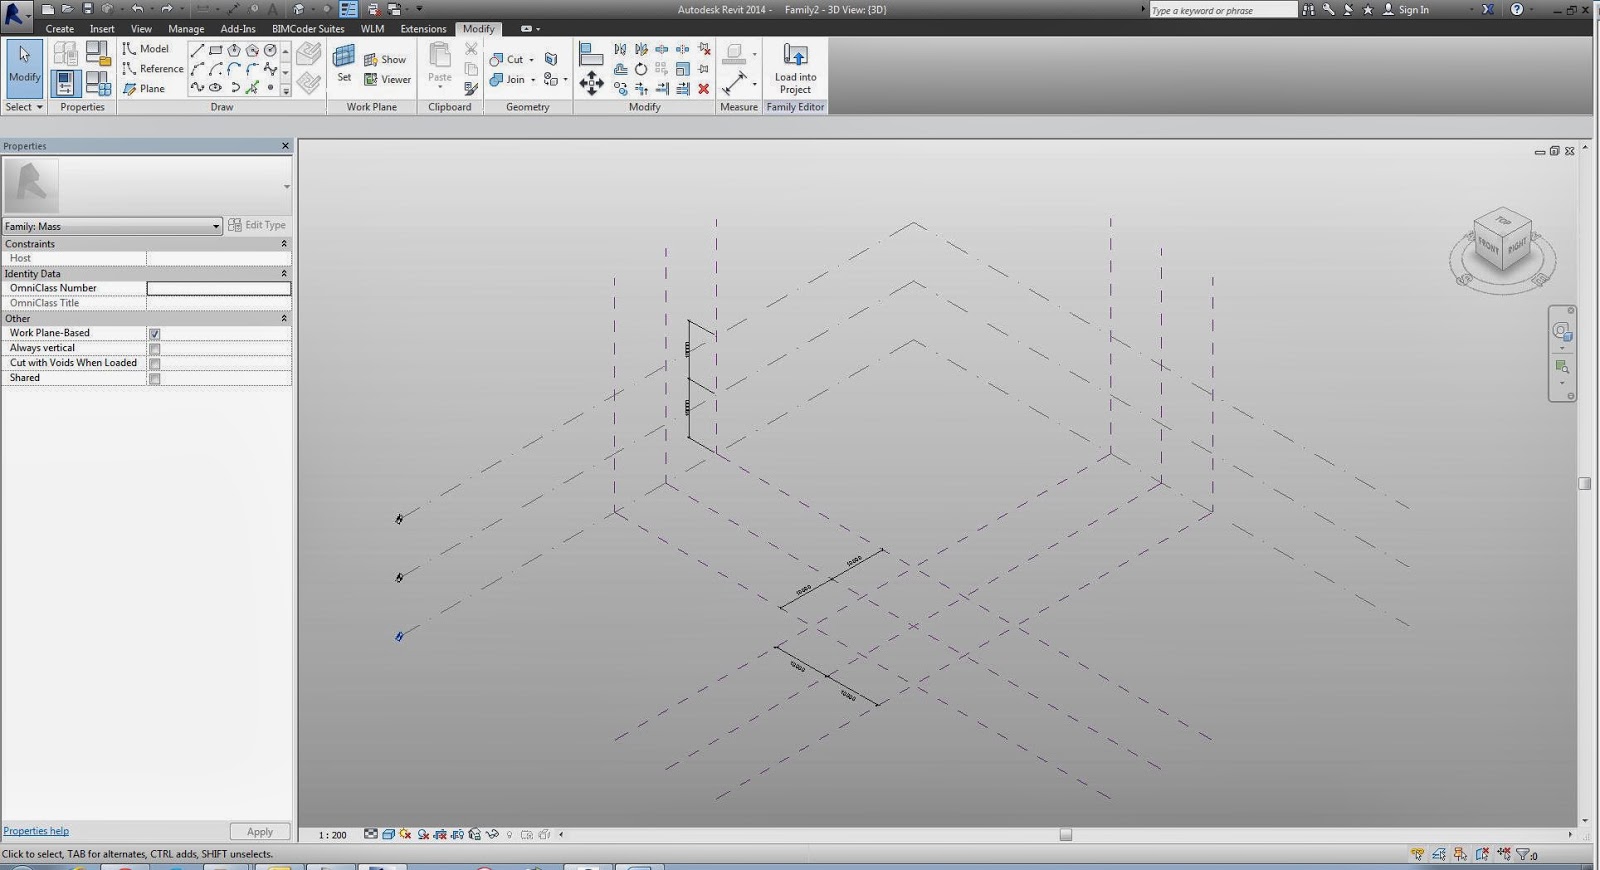
Start with a new ‘Metric Mass’ family.
Lay out the reference grids required, in my example I am
using a 10m 3D grid arrangement.
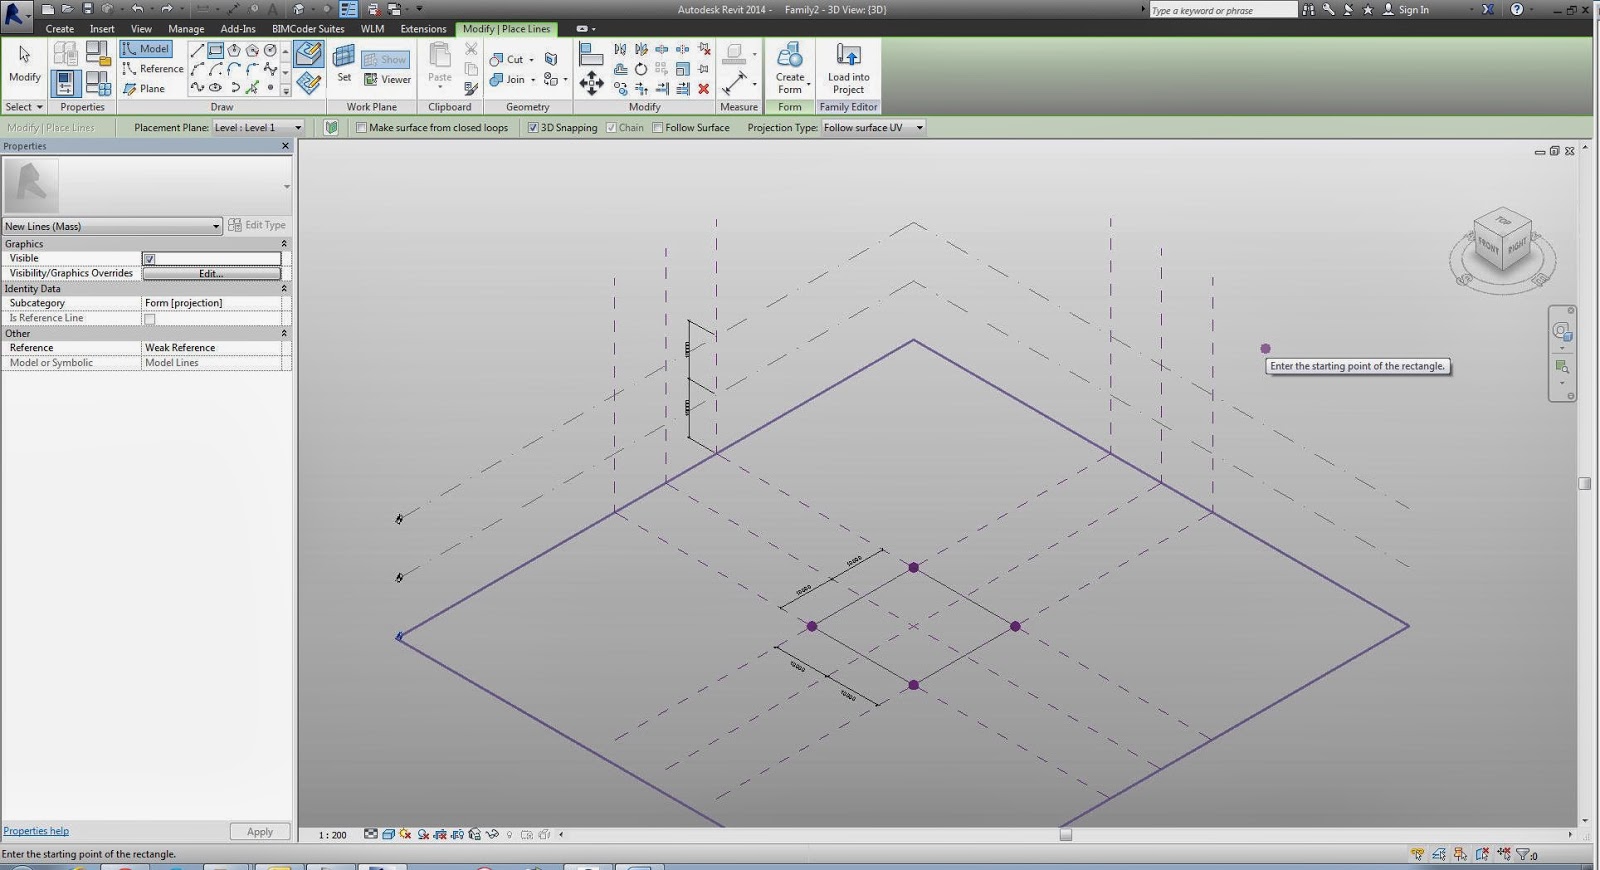
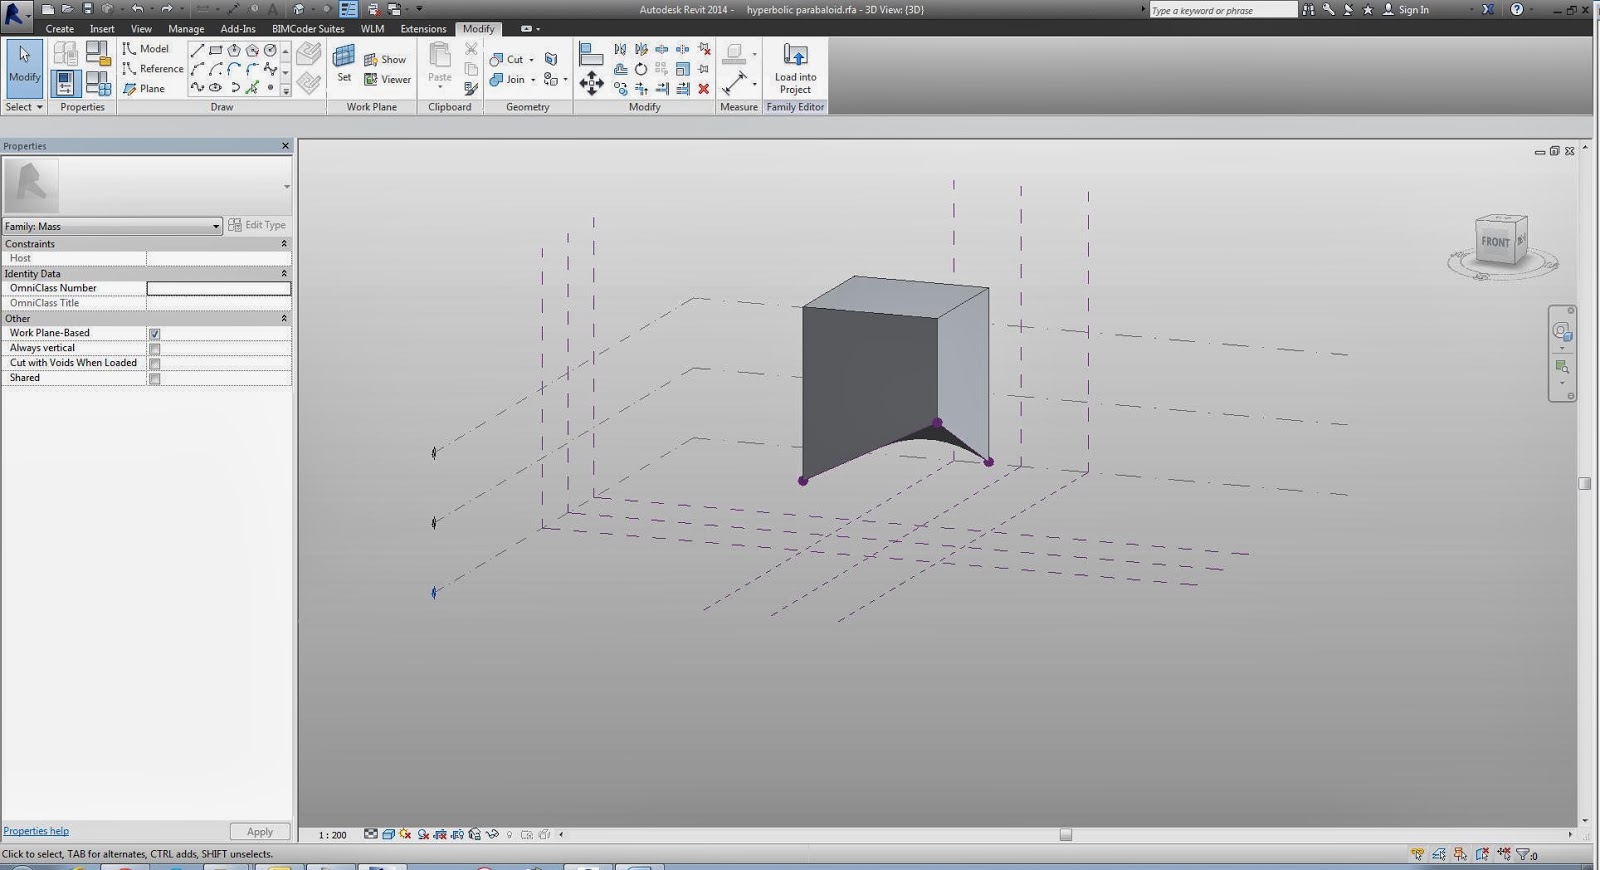
Go to your Level 1 floor plan view. And draw a square
20mx20m. Use the model line to begin with and enable the 3D snapping, in the
Options bar. This will create a square with Reference Points at each corner.
Select the Square and enable the ‘Is Reference Line’
parameter in the properties.
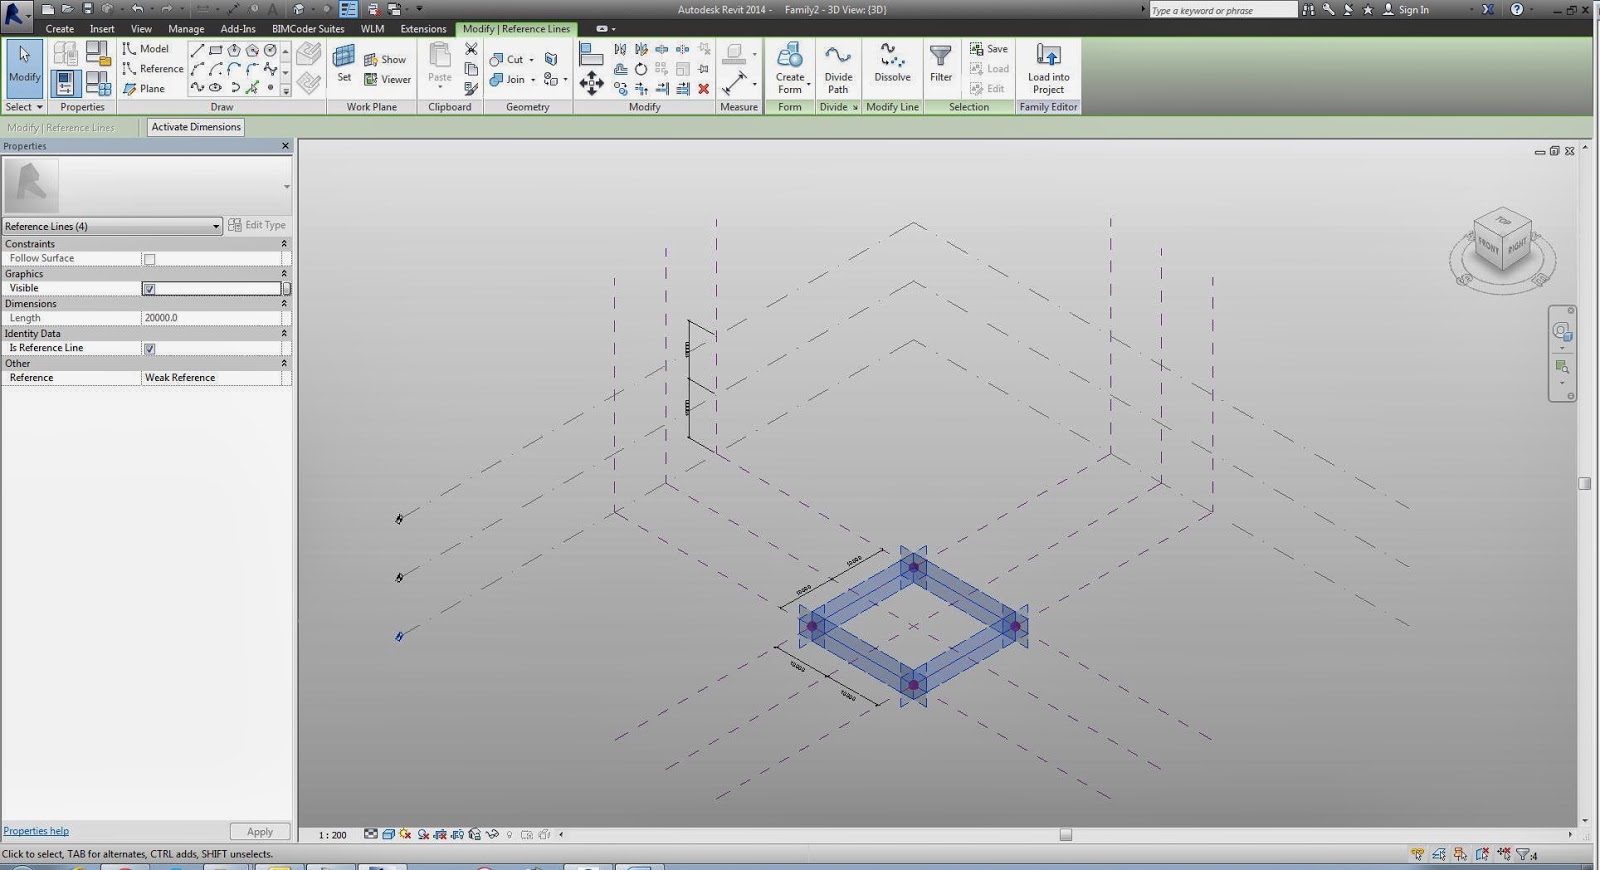
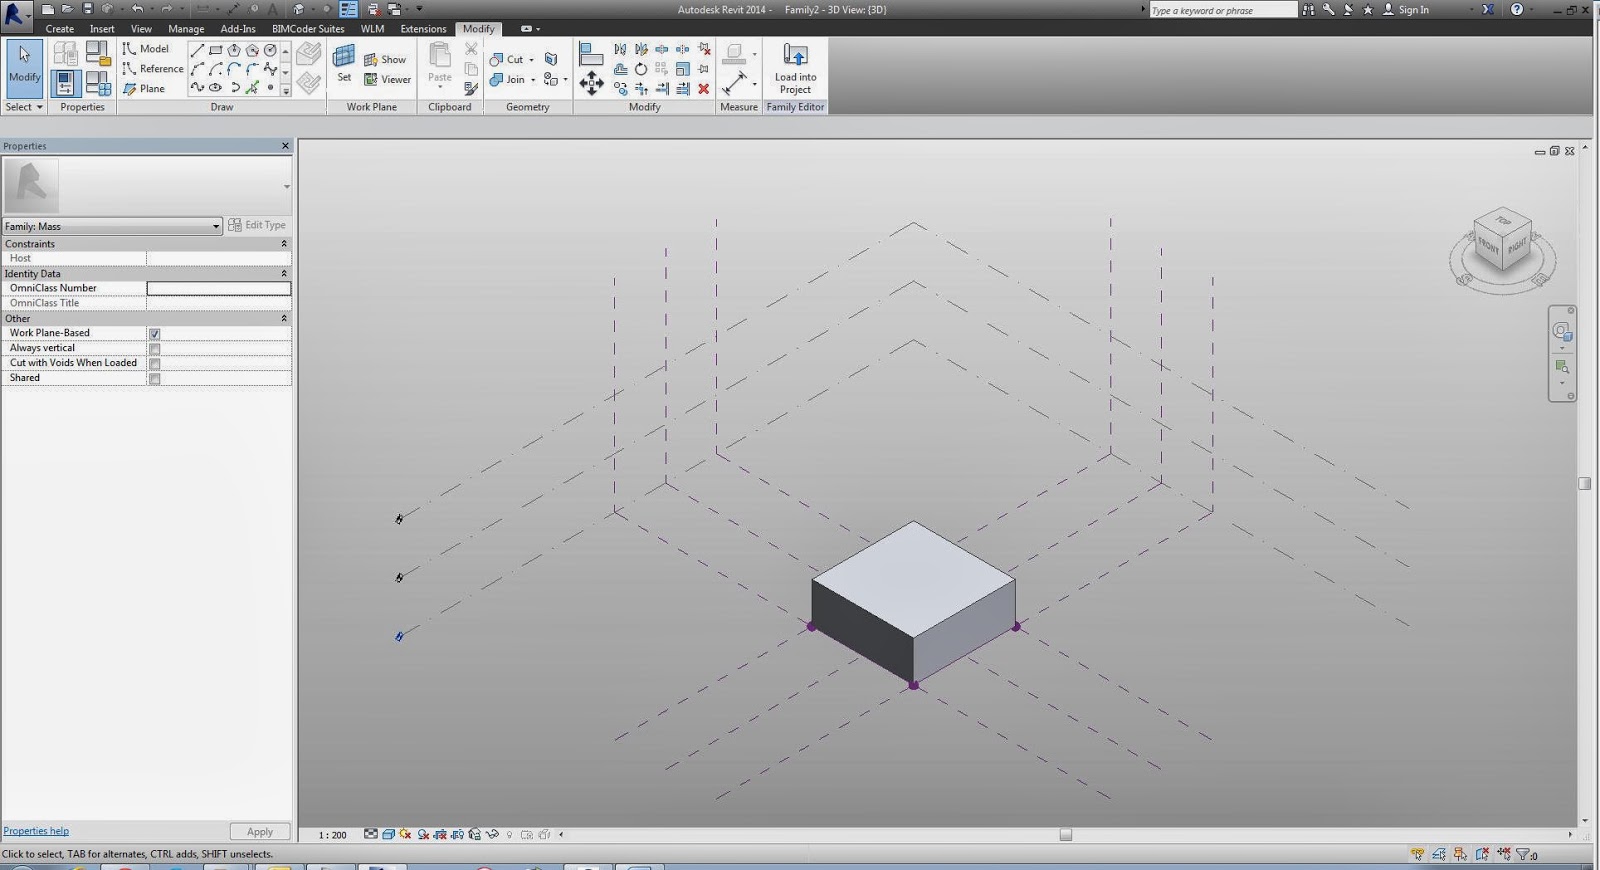
Create an extrusion Form from the selected reference lines. (This is where you could just create a face form.)
Now select the points at each opposite corner of the top of
the box, and stretch them up so that 2 finish on the upper horizontal reference
plane and 2 finish at the middle horizontal reference plane.

You have now created a square hyperbolic parabaloid top.
This can be loaded into your project and in the ‘Massing & Site’ tab in the
ribbon. Apply a roof to the top of the mass form.

Finished.
To create a Circular Hyperbolic Parabaloid.
If you would like to create a circular hyperbolic
parabaloid, follow the steps outlined in the first part of this tutorial,
except create the hyperbolic parabaloid on the bottom of the square form.
Now you can draw a circle on the lower reference plane.

Select the circle and create a cylinder form.
Stretching the top up into the square form.
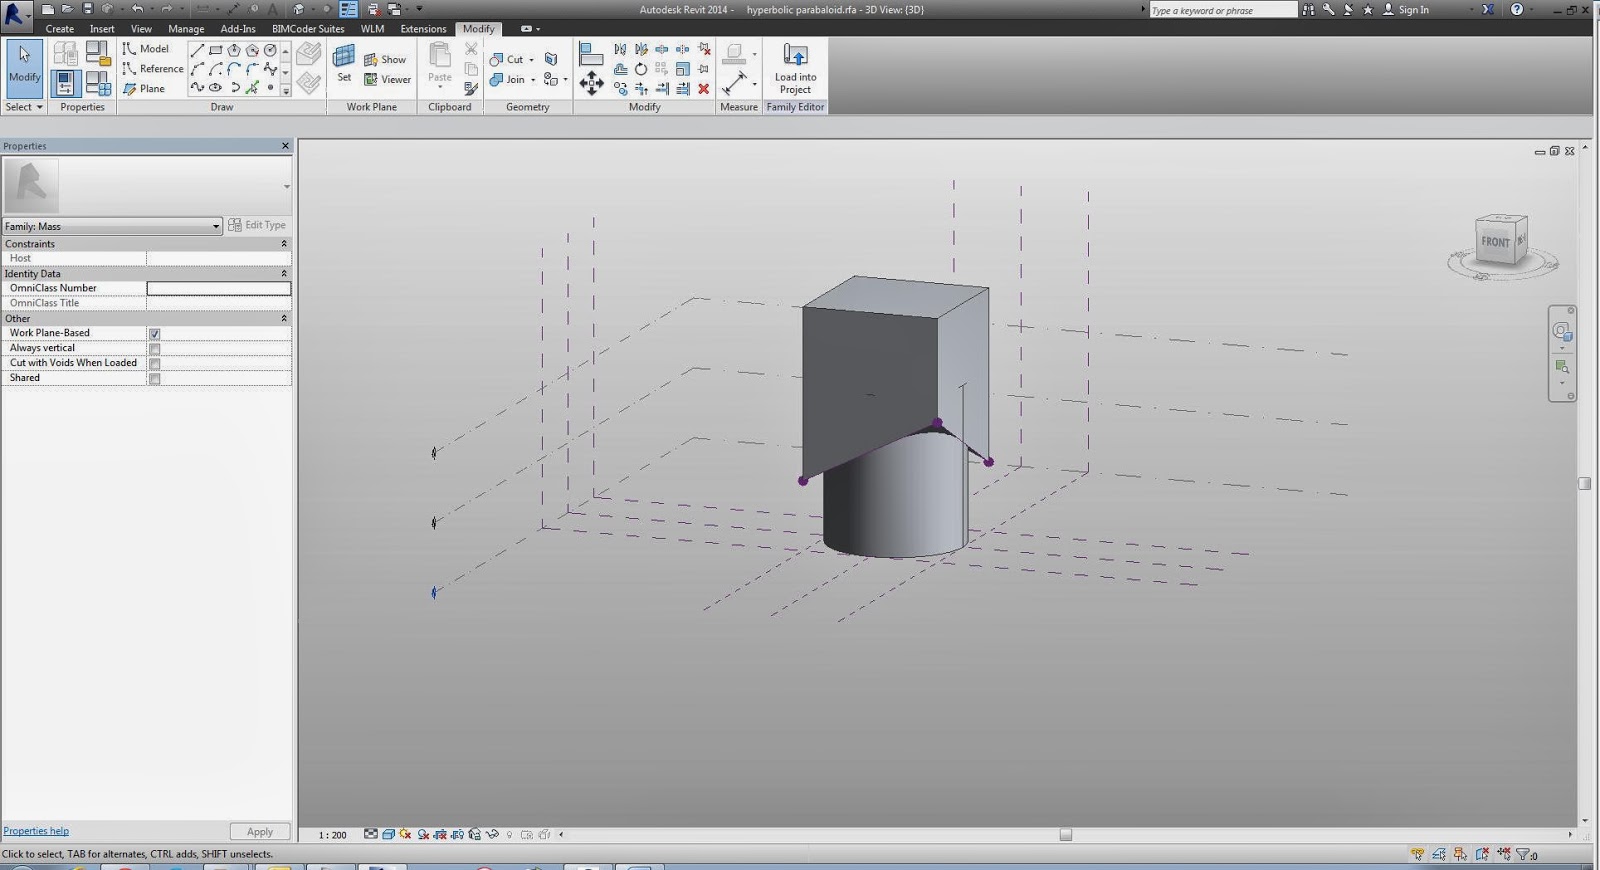
If you select the square form, in the properties dialogue
box, change it to a void. This will subtract the square form from the cylinder.
Leaving a circular hyperbolic parabaloid shape.

This can now be loaded into the project and using the
‘Massing & Site’ tab, create a new roof on top of the cylinder. Toggle the
Mass off and you are left with a circular hyperbolic parabaloid.

Finished.
No comments:
Post a Comment